
Build Efficiently on Polybase
HC

Sid Gandhi
•
Jan 24, 2023

At Polybase, we talk to a lot of builders.
We’ve recently seen a trend of projects that can’t be built efficiently on blockchains:
Decentralized social network
Decentralized orderbook for HFT
Crowdsourcing lender data to lower risk
Open data for permissionless building in DAOs
Today we’ll take the example of a decentralized social network. There were dozens if not hundreds of projects in 2014-2016 that tried to rebuild Twitter on Ethereum. They all ran into the same problems: performance and cost. Social networks need fast and cheap databases.
Existing blockchains are extremely expensive and slow databases.
So we took the best of blockchains and databases and made Polybase. The magic that makes it work is zero-knowledge proofs.
Just the same way you might spin up an EC2 instance, a Postgres server and an S3 storage bucket in web2, Polybase enables the new web3 tech stack. This architecture gives us the performance and cost of a traditional tech stack with the decentralization and public verifiability of a blockchain.
Let’s build with Polybase.
In the next 5 minutes, we will walk through the different components you’ll need to start building a decentralized social network and explain how to set them up.
Let’s start with a simple data model:

Data models for user and post collections.
To create this data model in Polybase we can use the SDK or the Explorer. Let’s use Explorer for now.
Log in with your wallet at https://explorer.testnet.polybase.xyz.
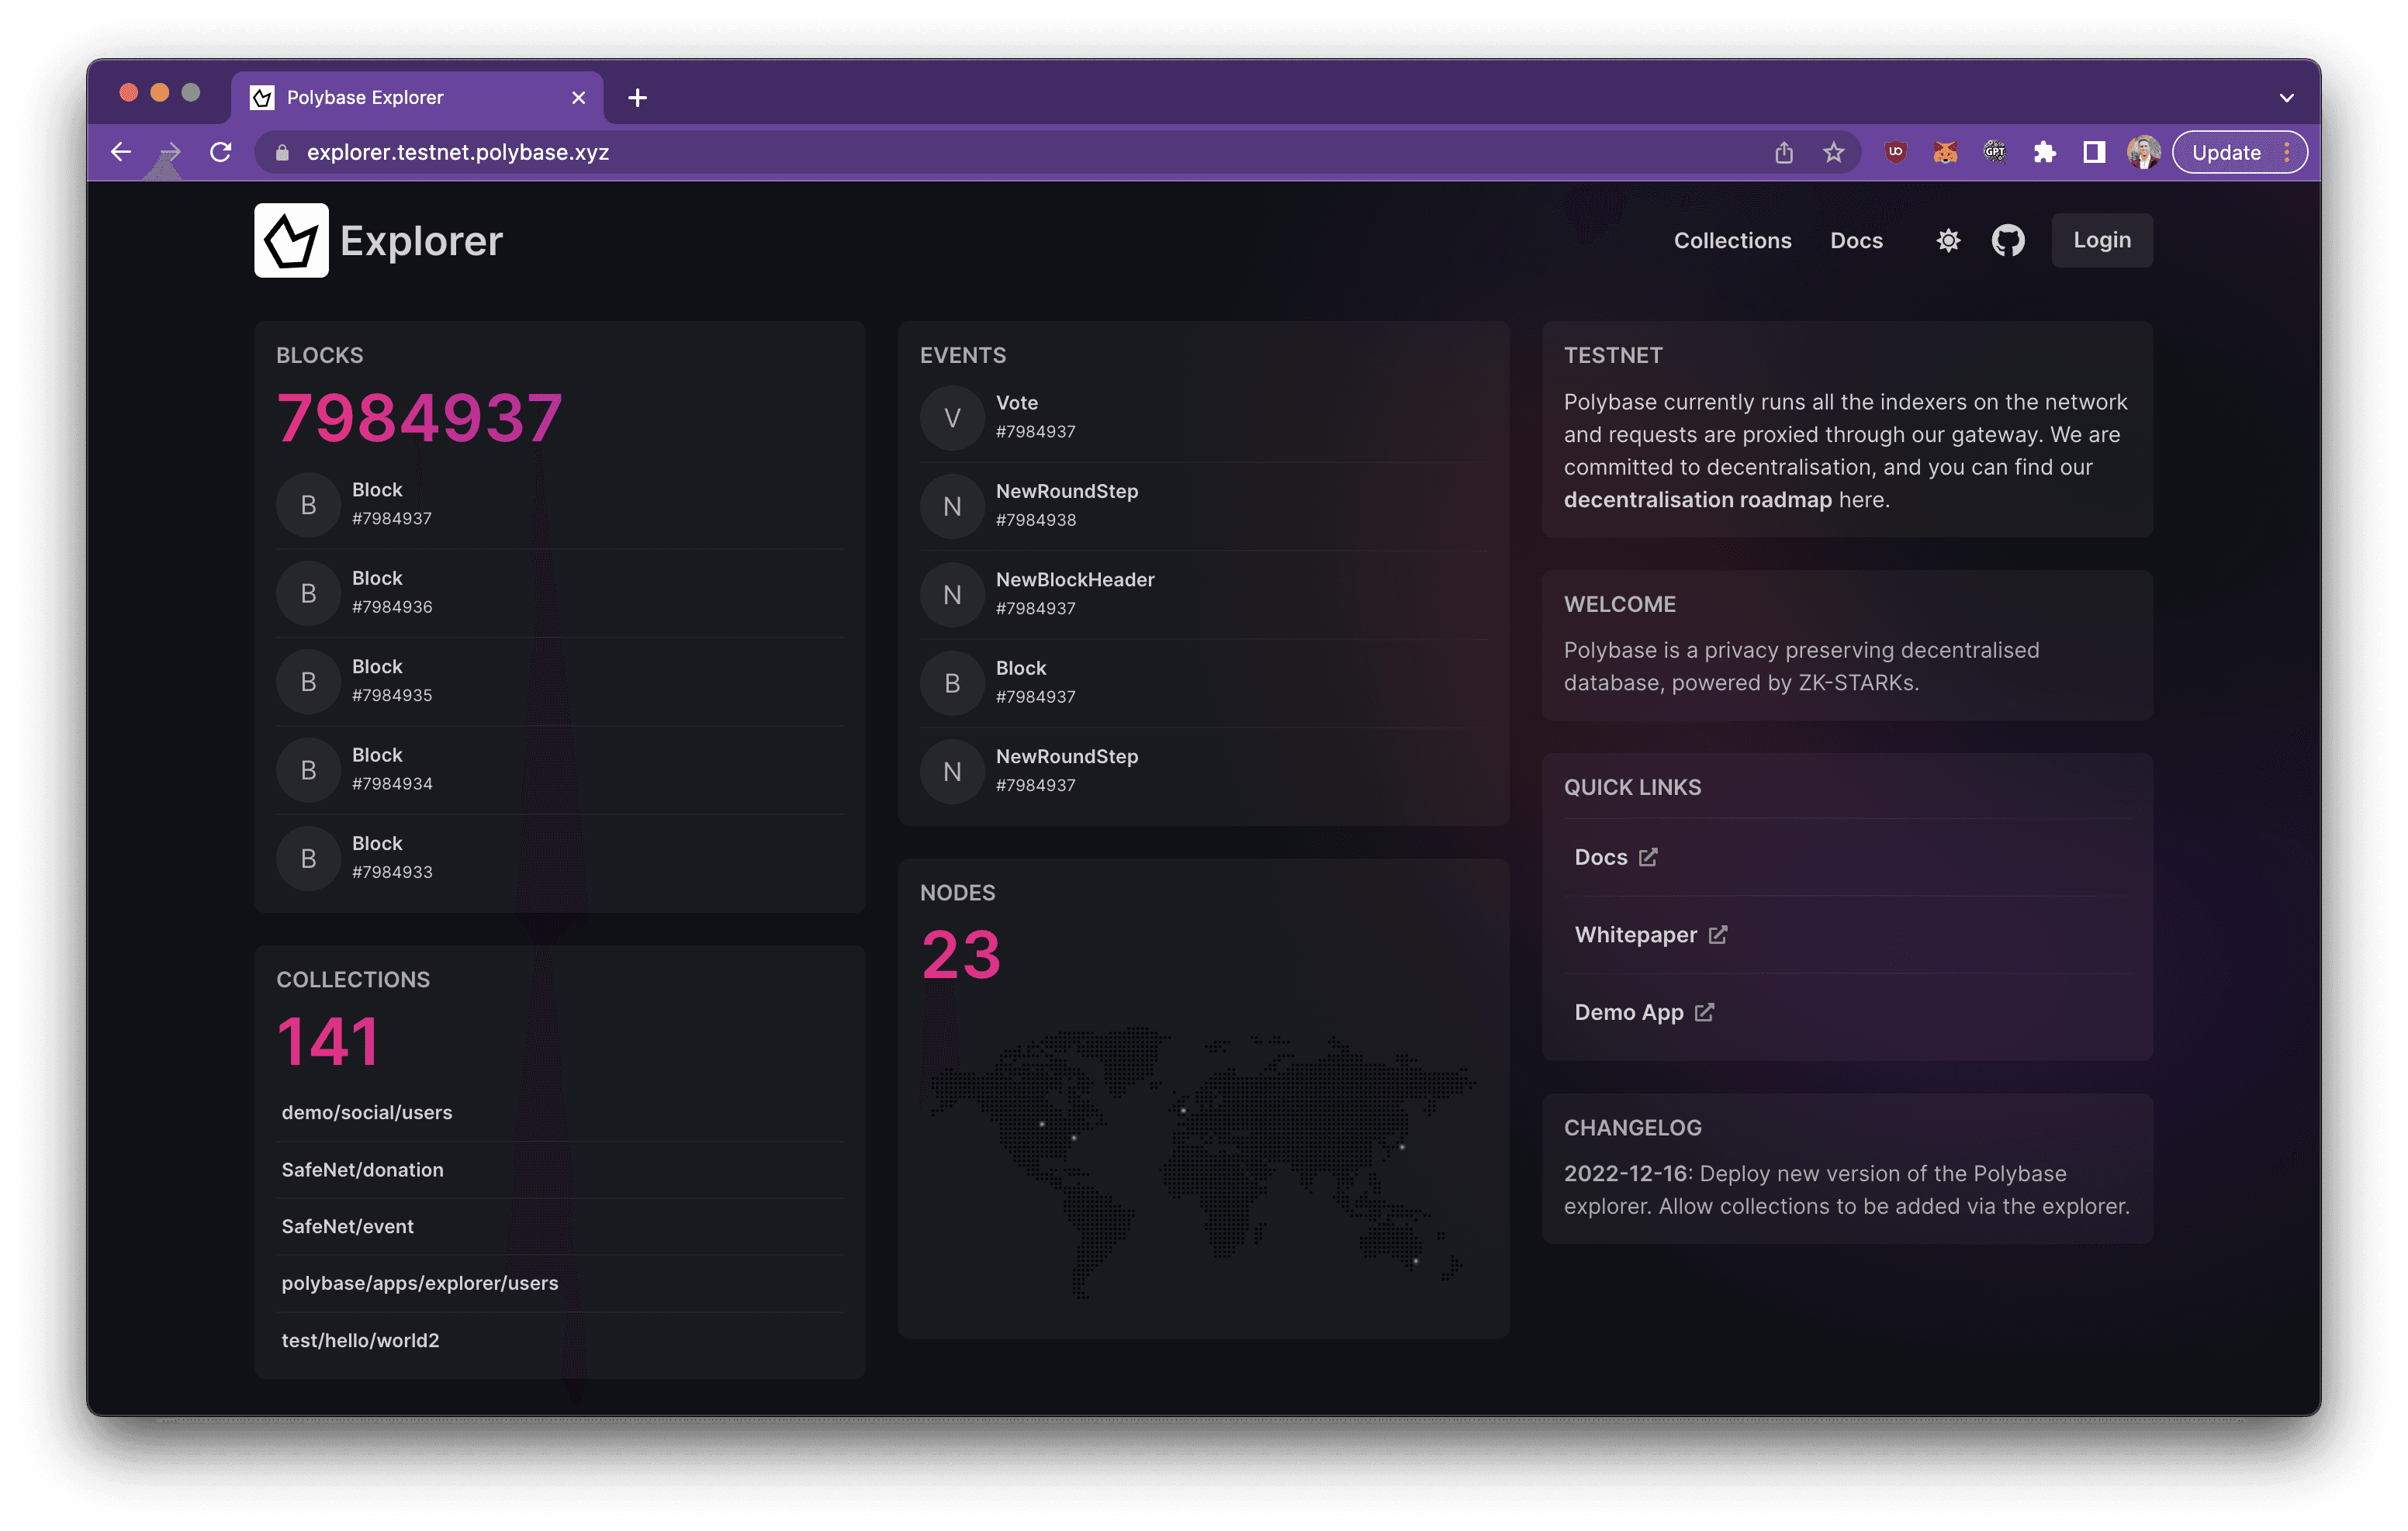
The Polybase Explorer for testnet.
On the dashboard, create a collection.

The dashboard when logged in.
Give it a namespace and the collection name users. Then sign the creation request.

Creating a users collection.
Update the new collection’s schema with the data model from above, paying special attention to the fields we want to be mandatory vs optional.
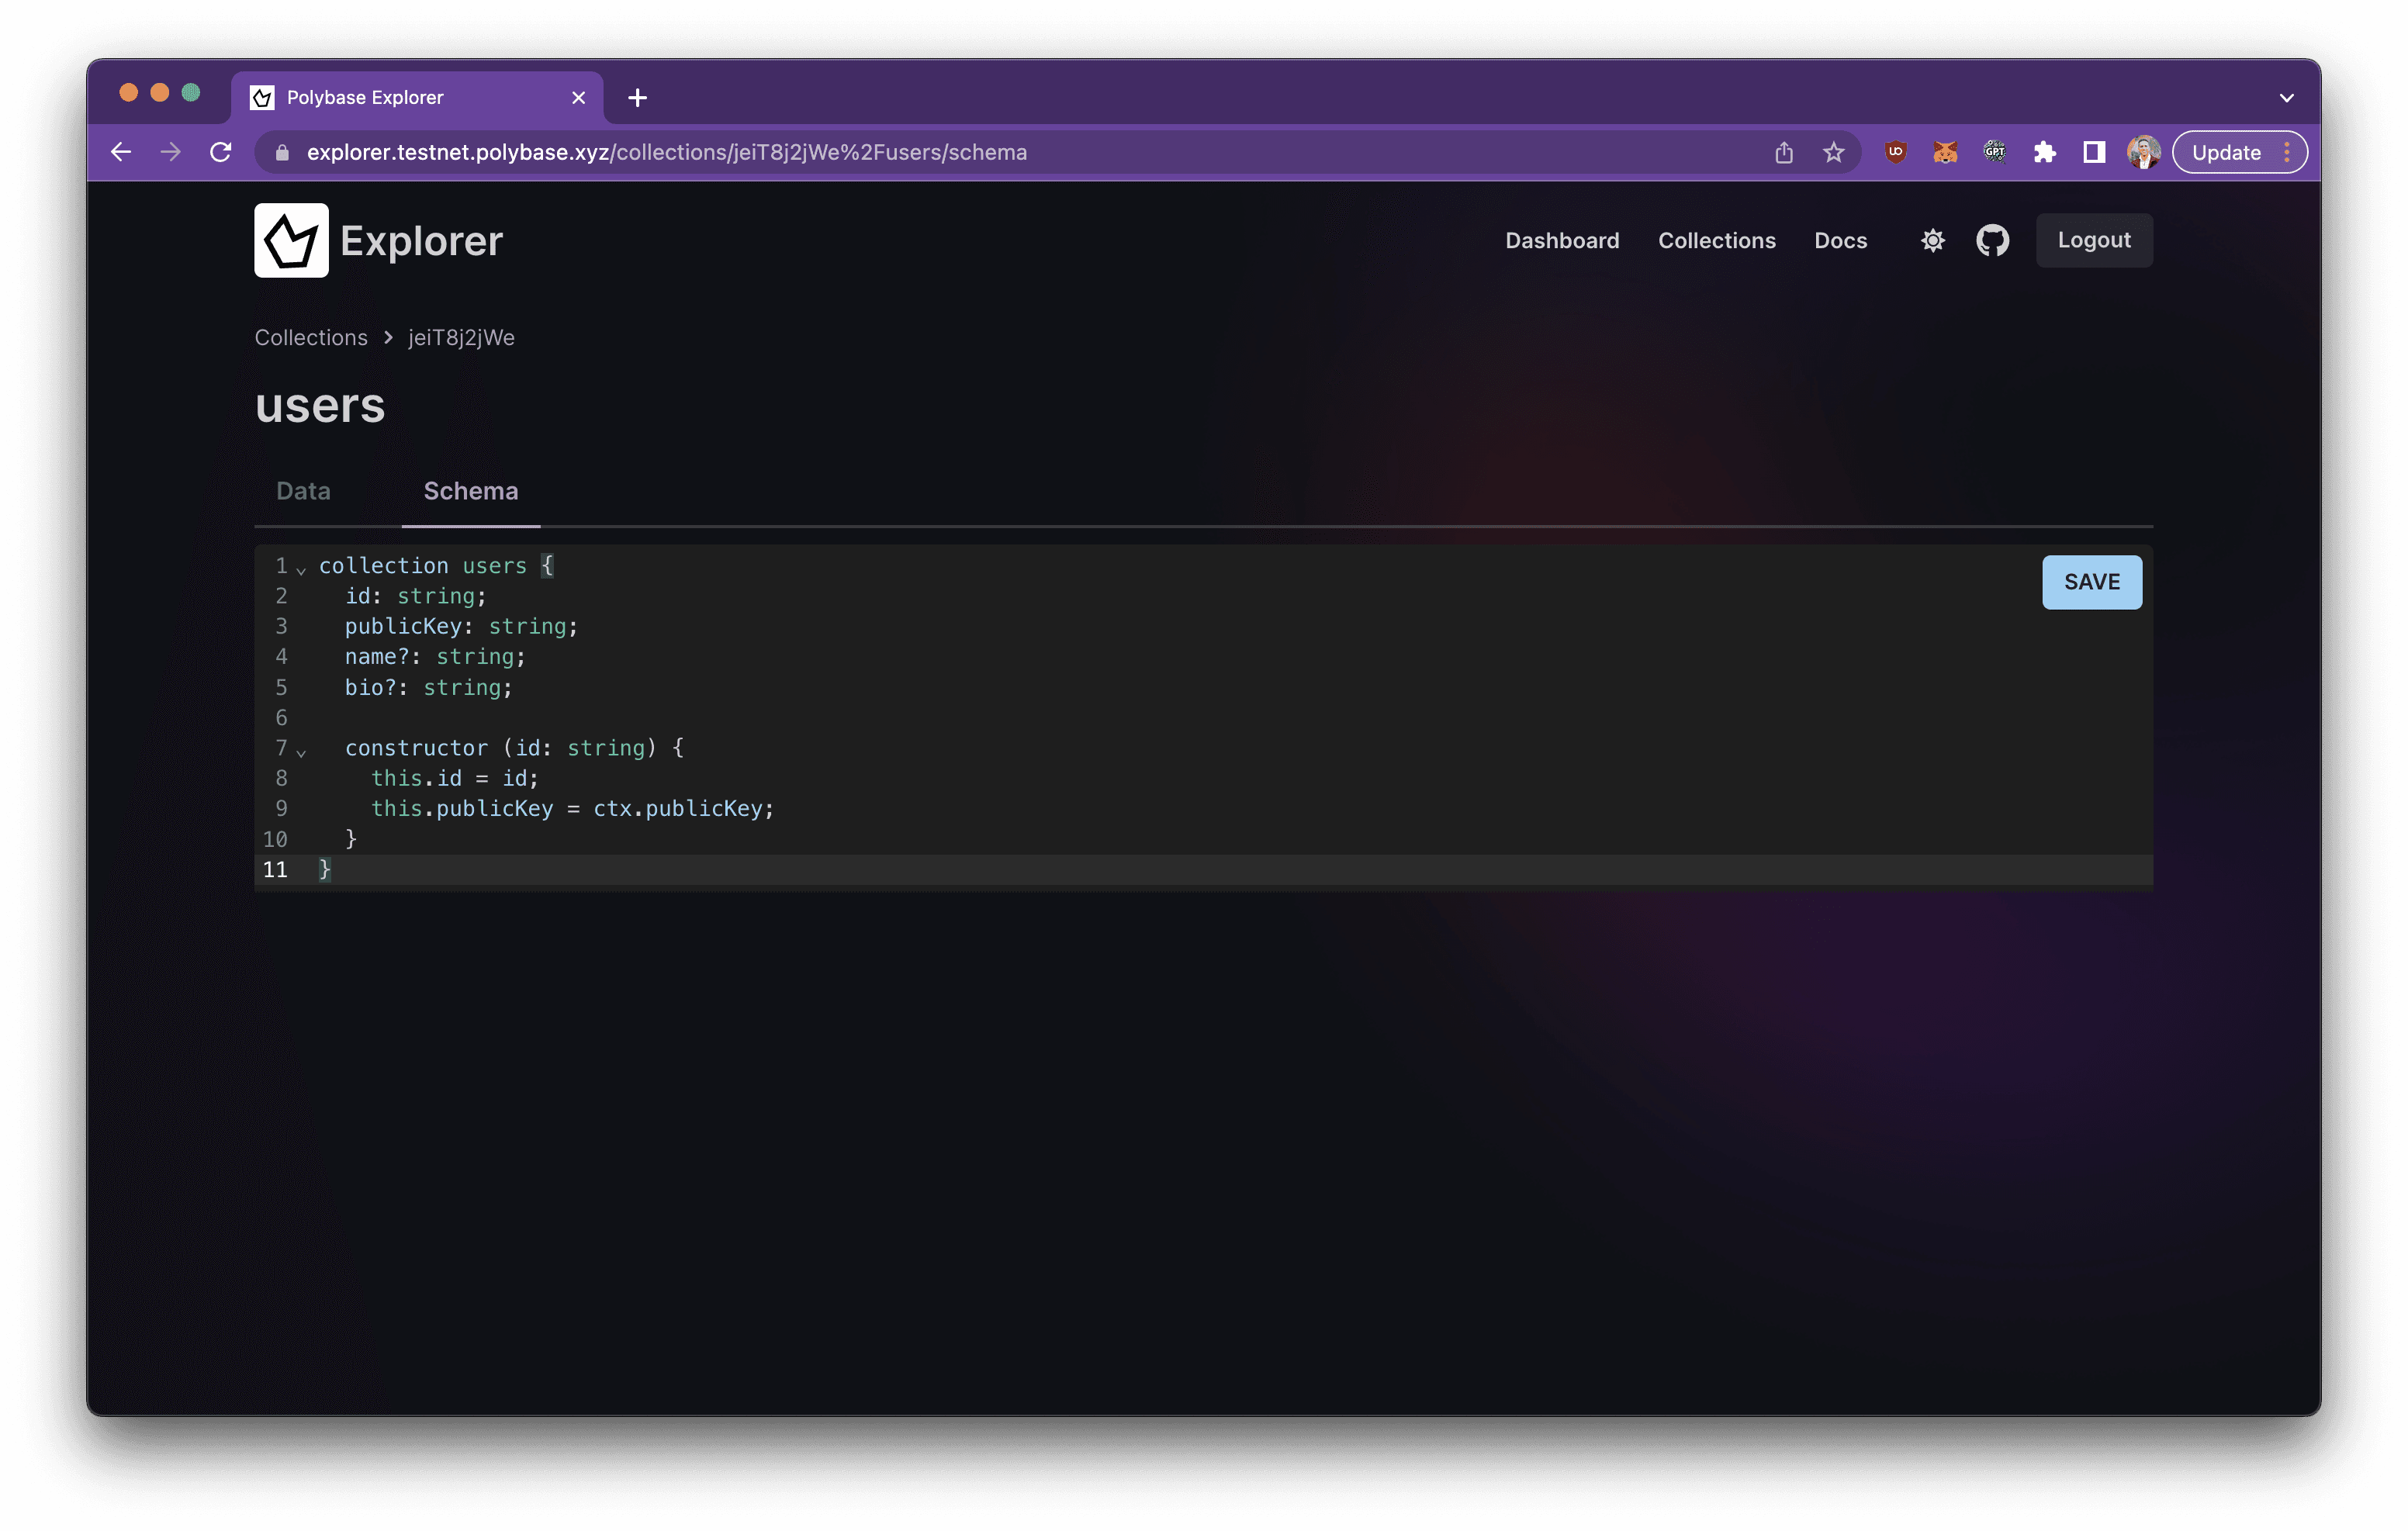
Writing the users collection schema.
On clicking “save” we will sign the update request and the schema will be applied to the collection.
Next we will add the ability for the user to update their name using a function that checks that the user themselves signed the update request.
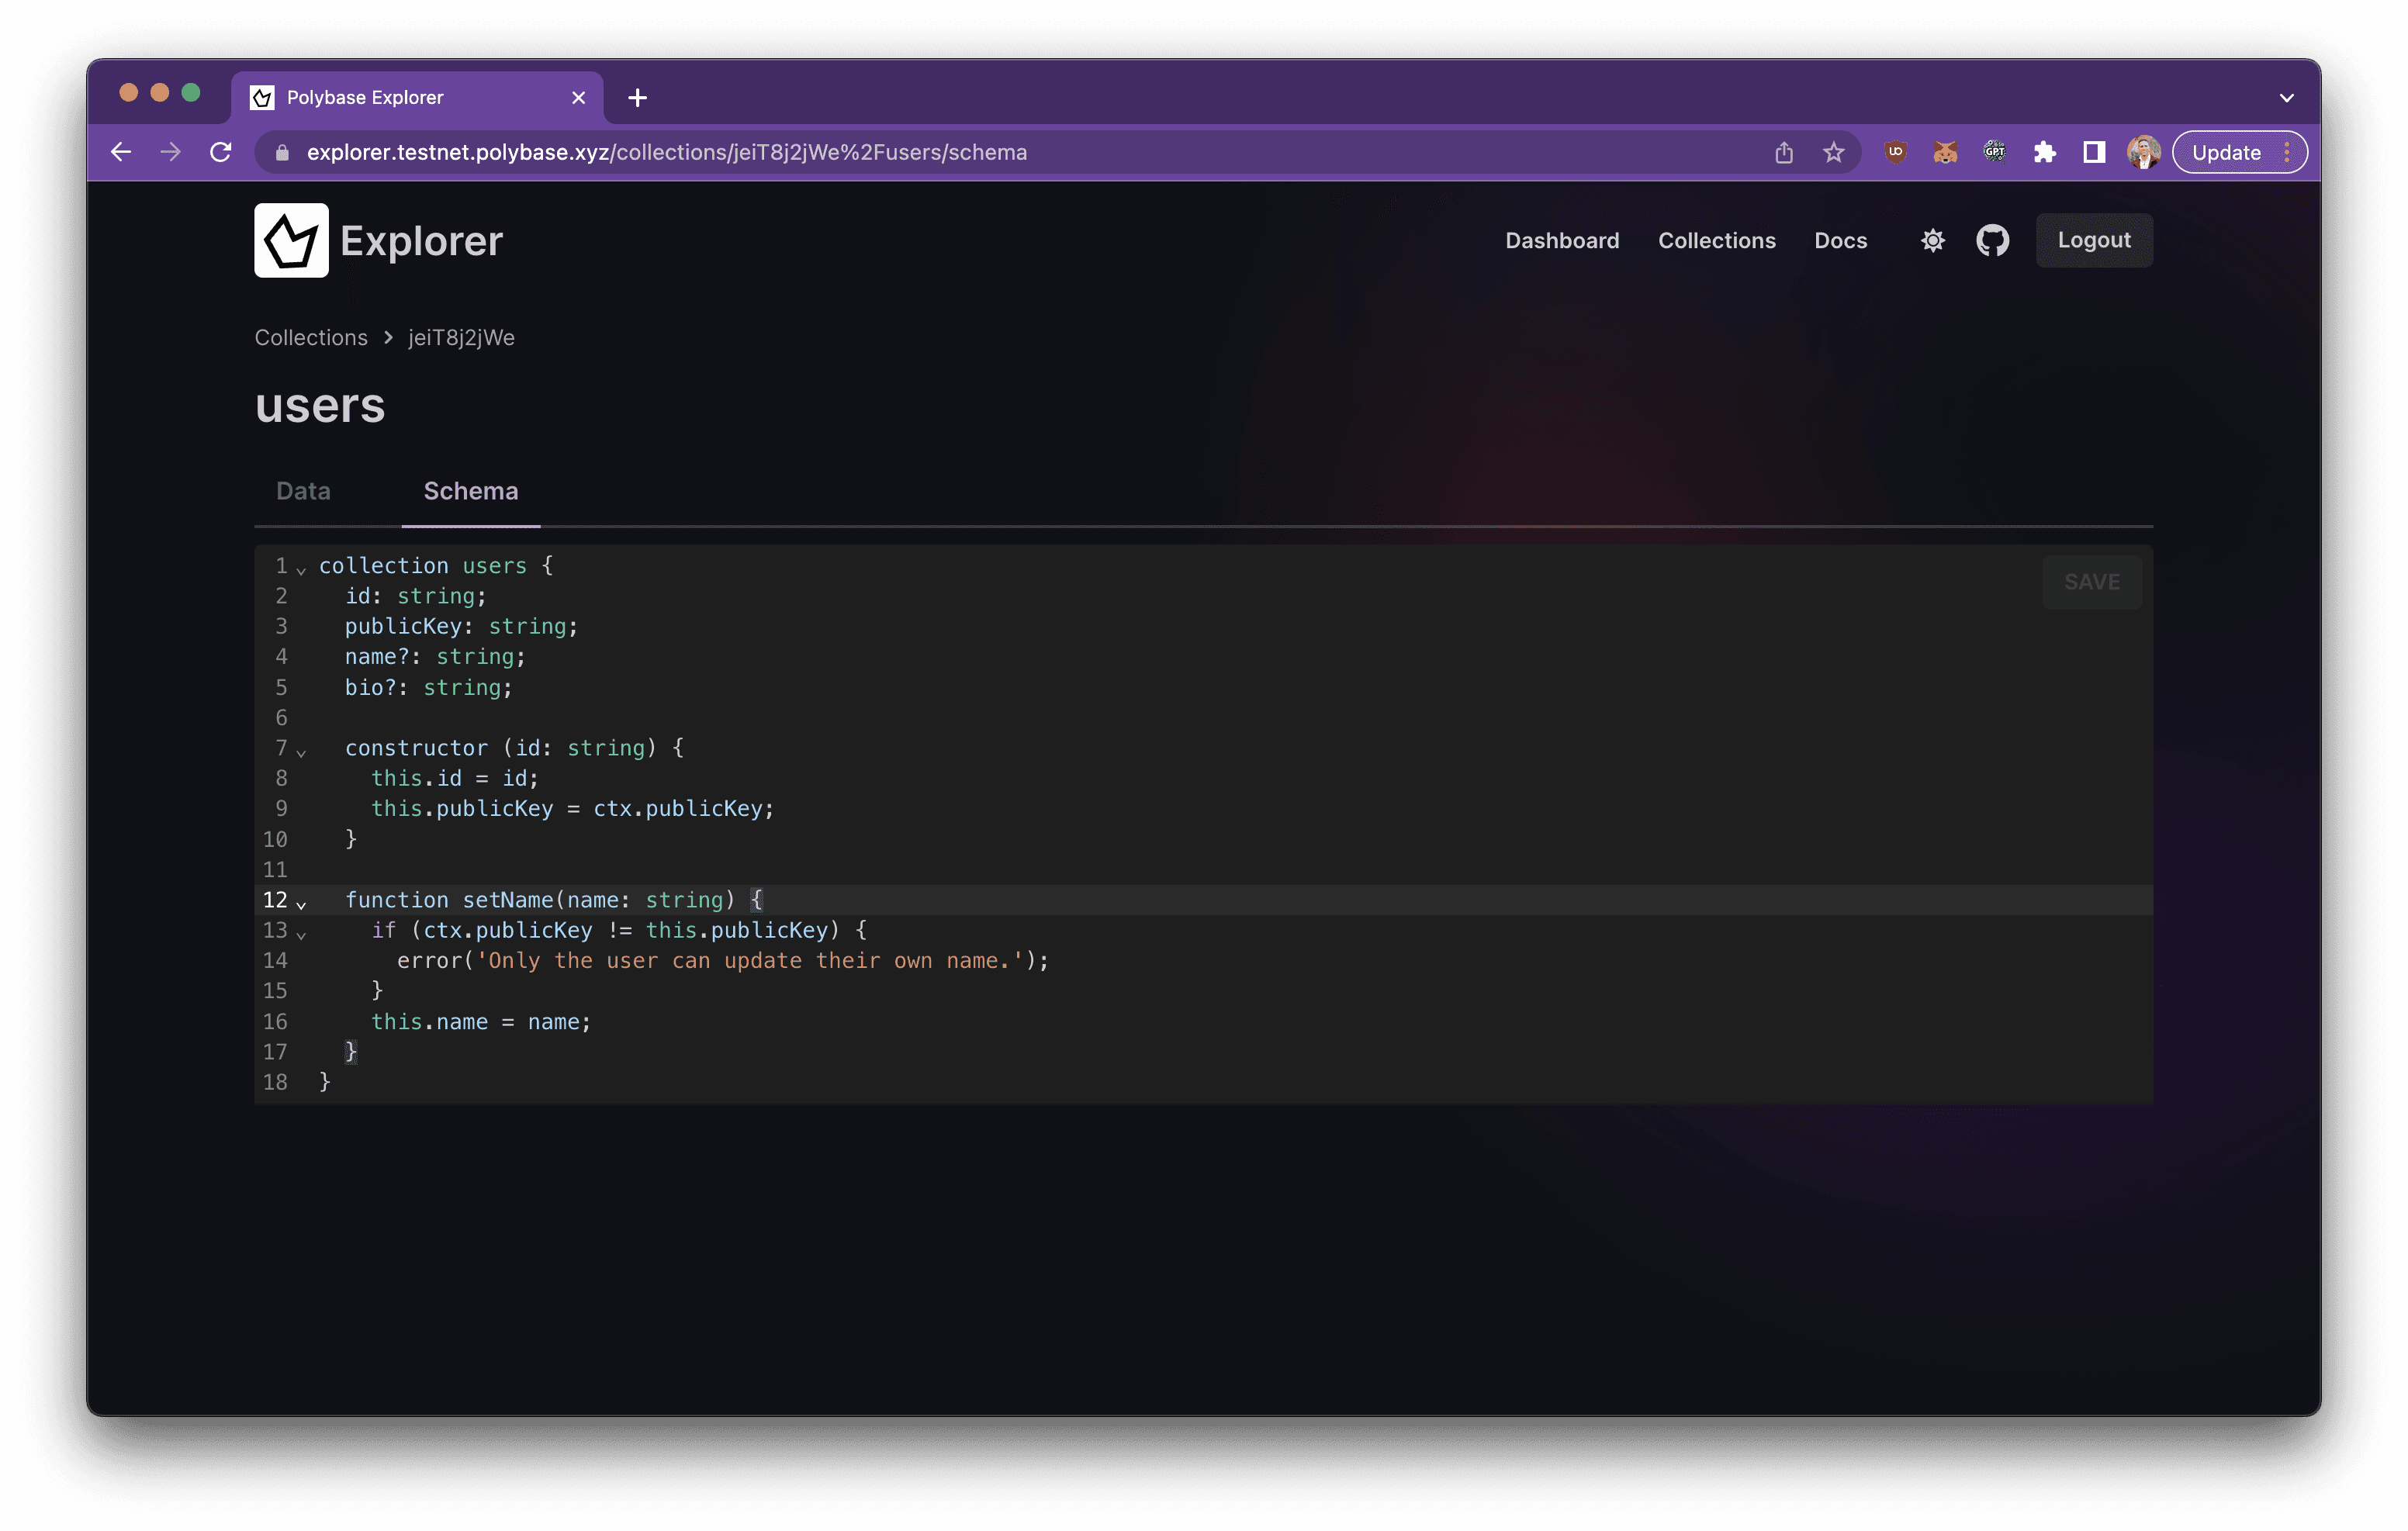
Adding a setName() function to the users collection.
A similar function can be written for bio.
Next, we will create a collection for posts, and fill in the schema.
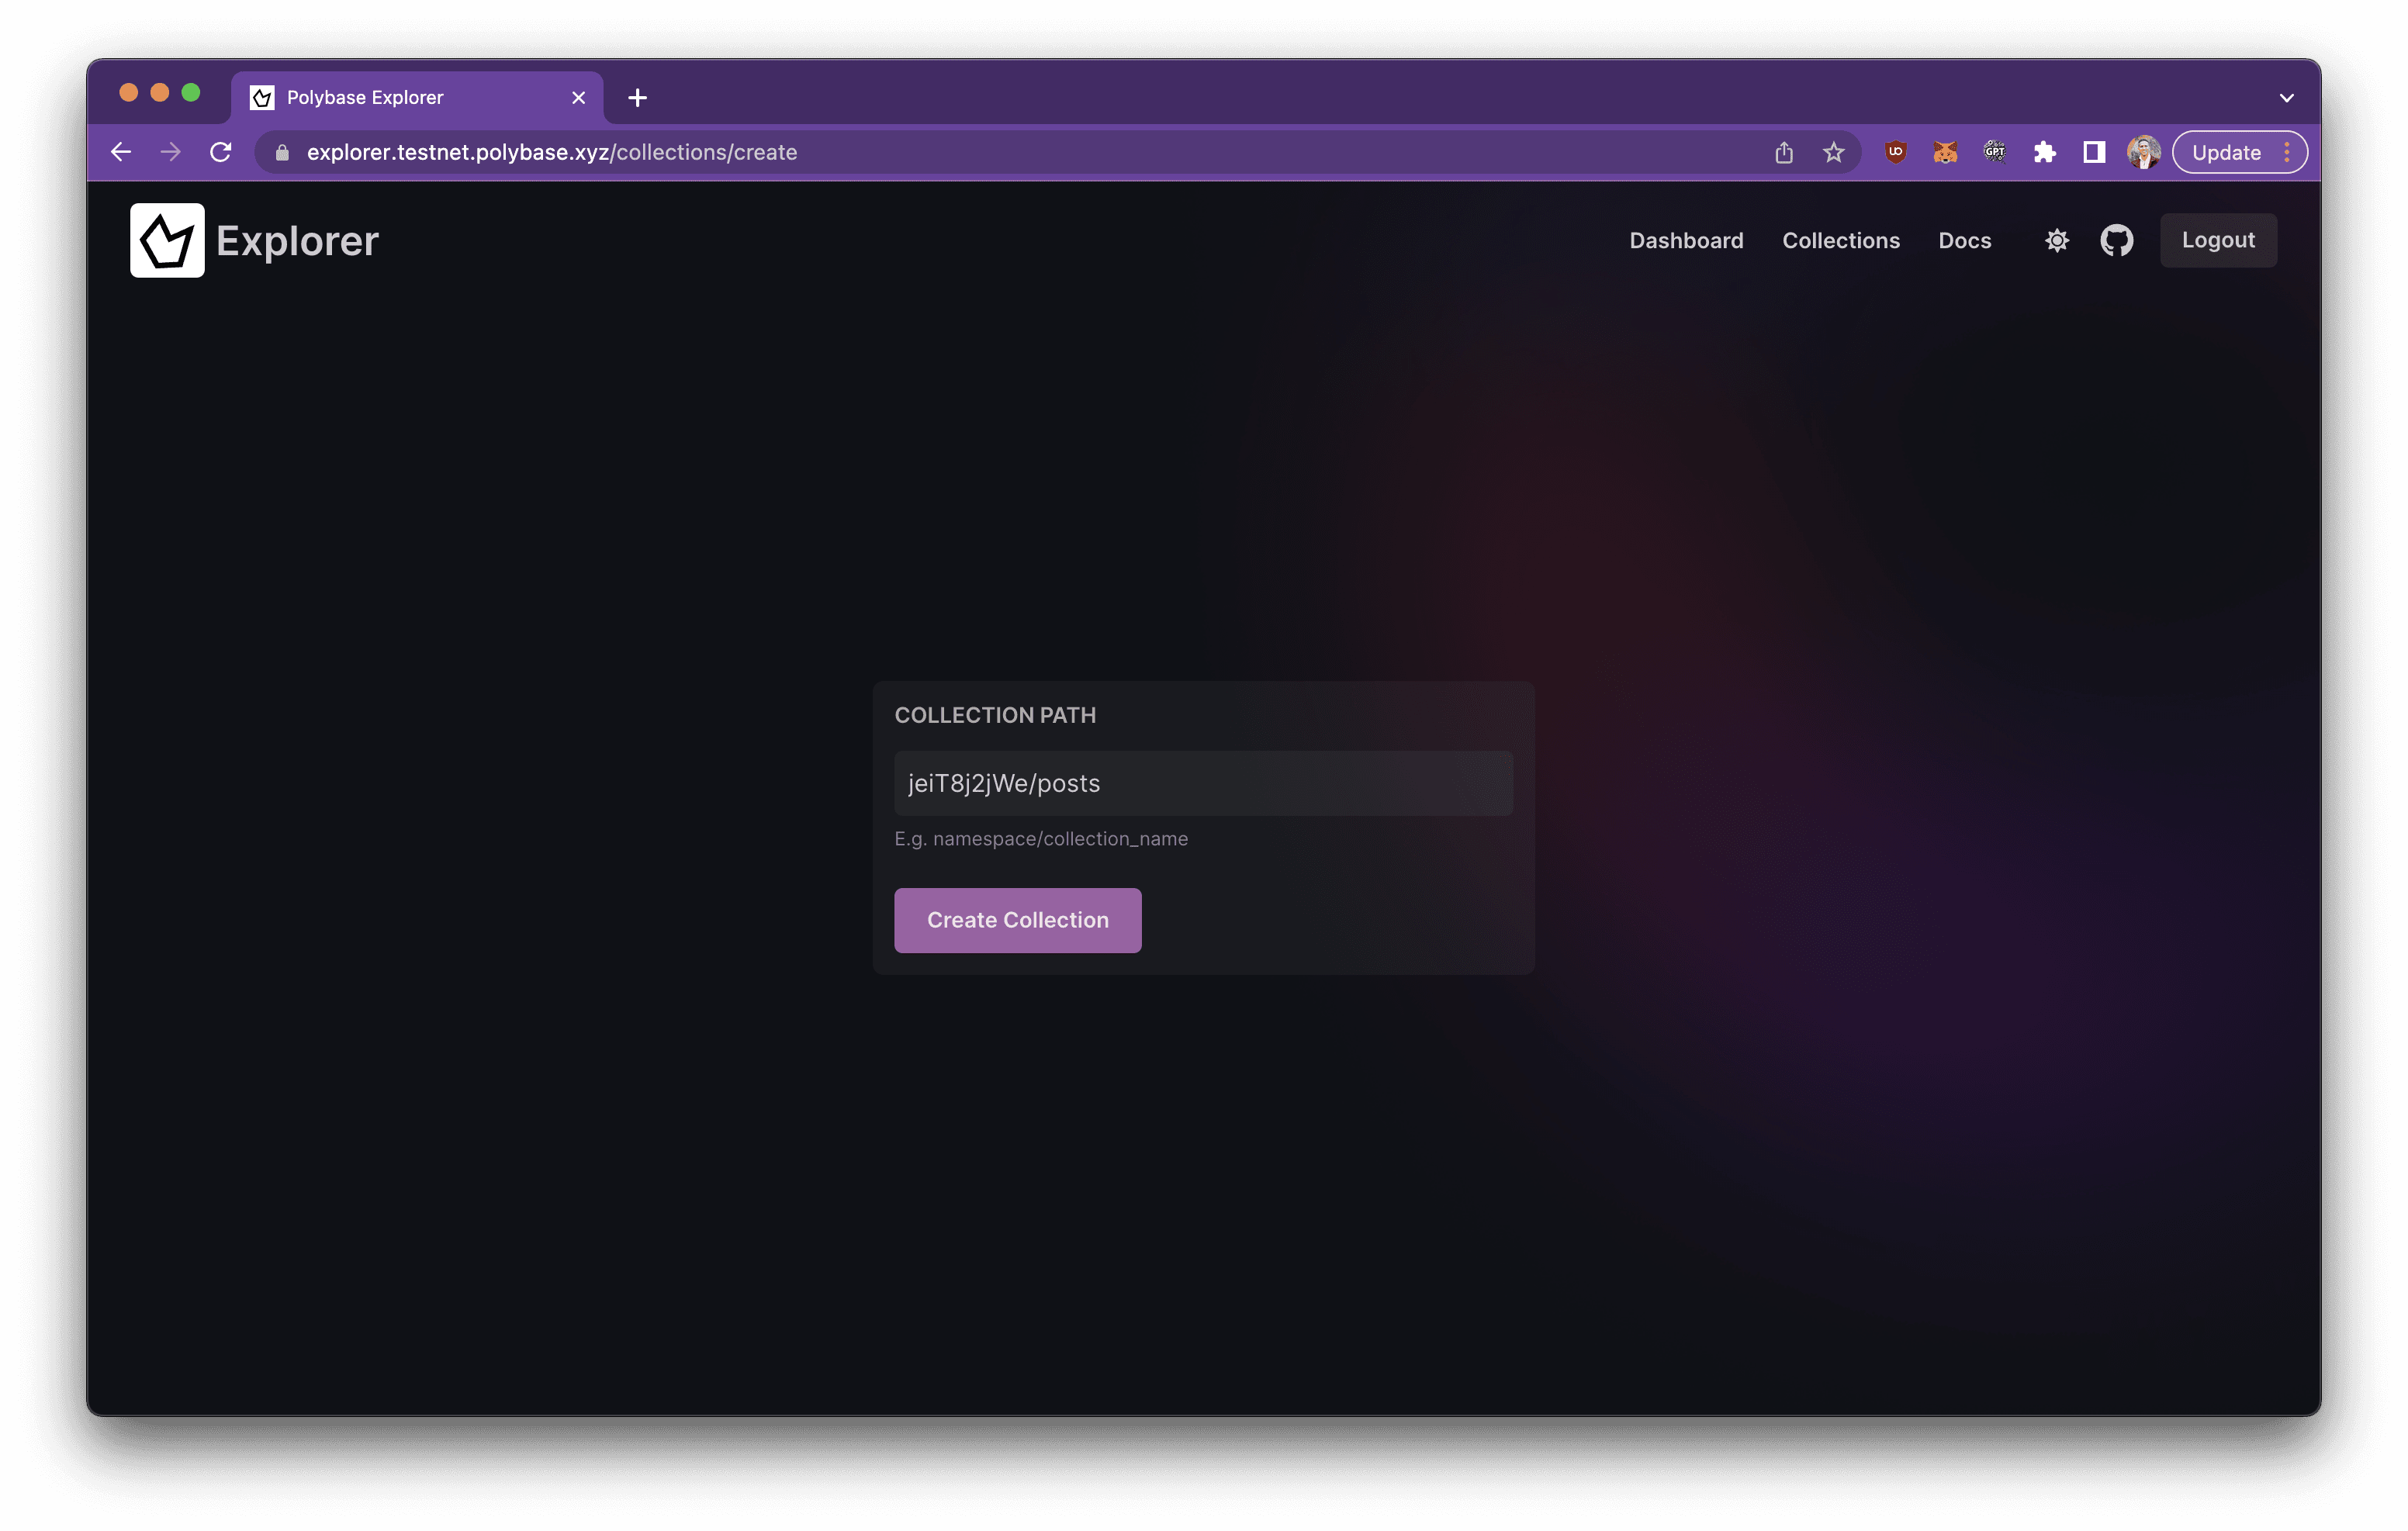
Creating a posts collection.
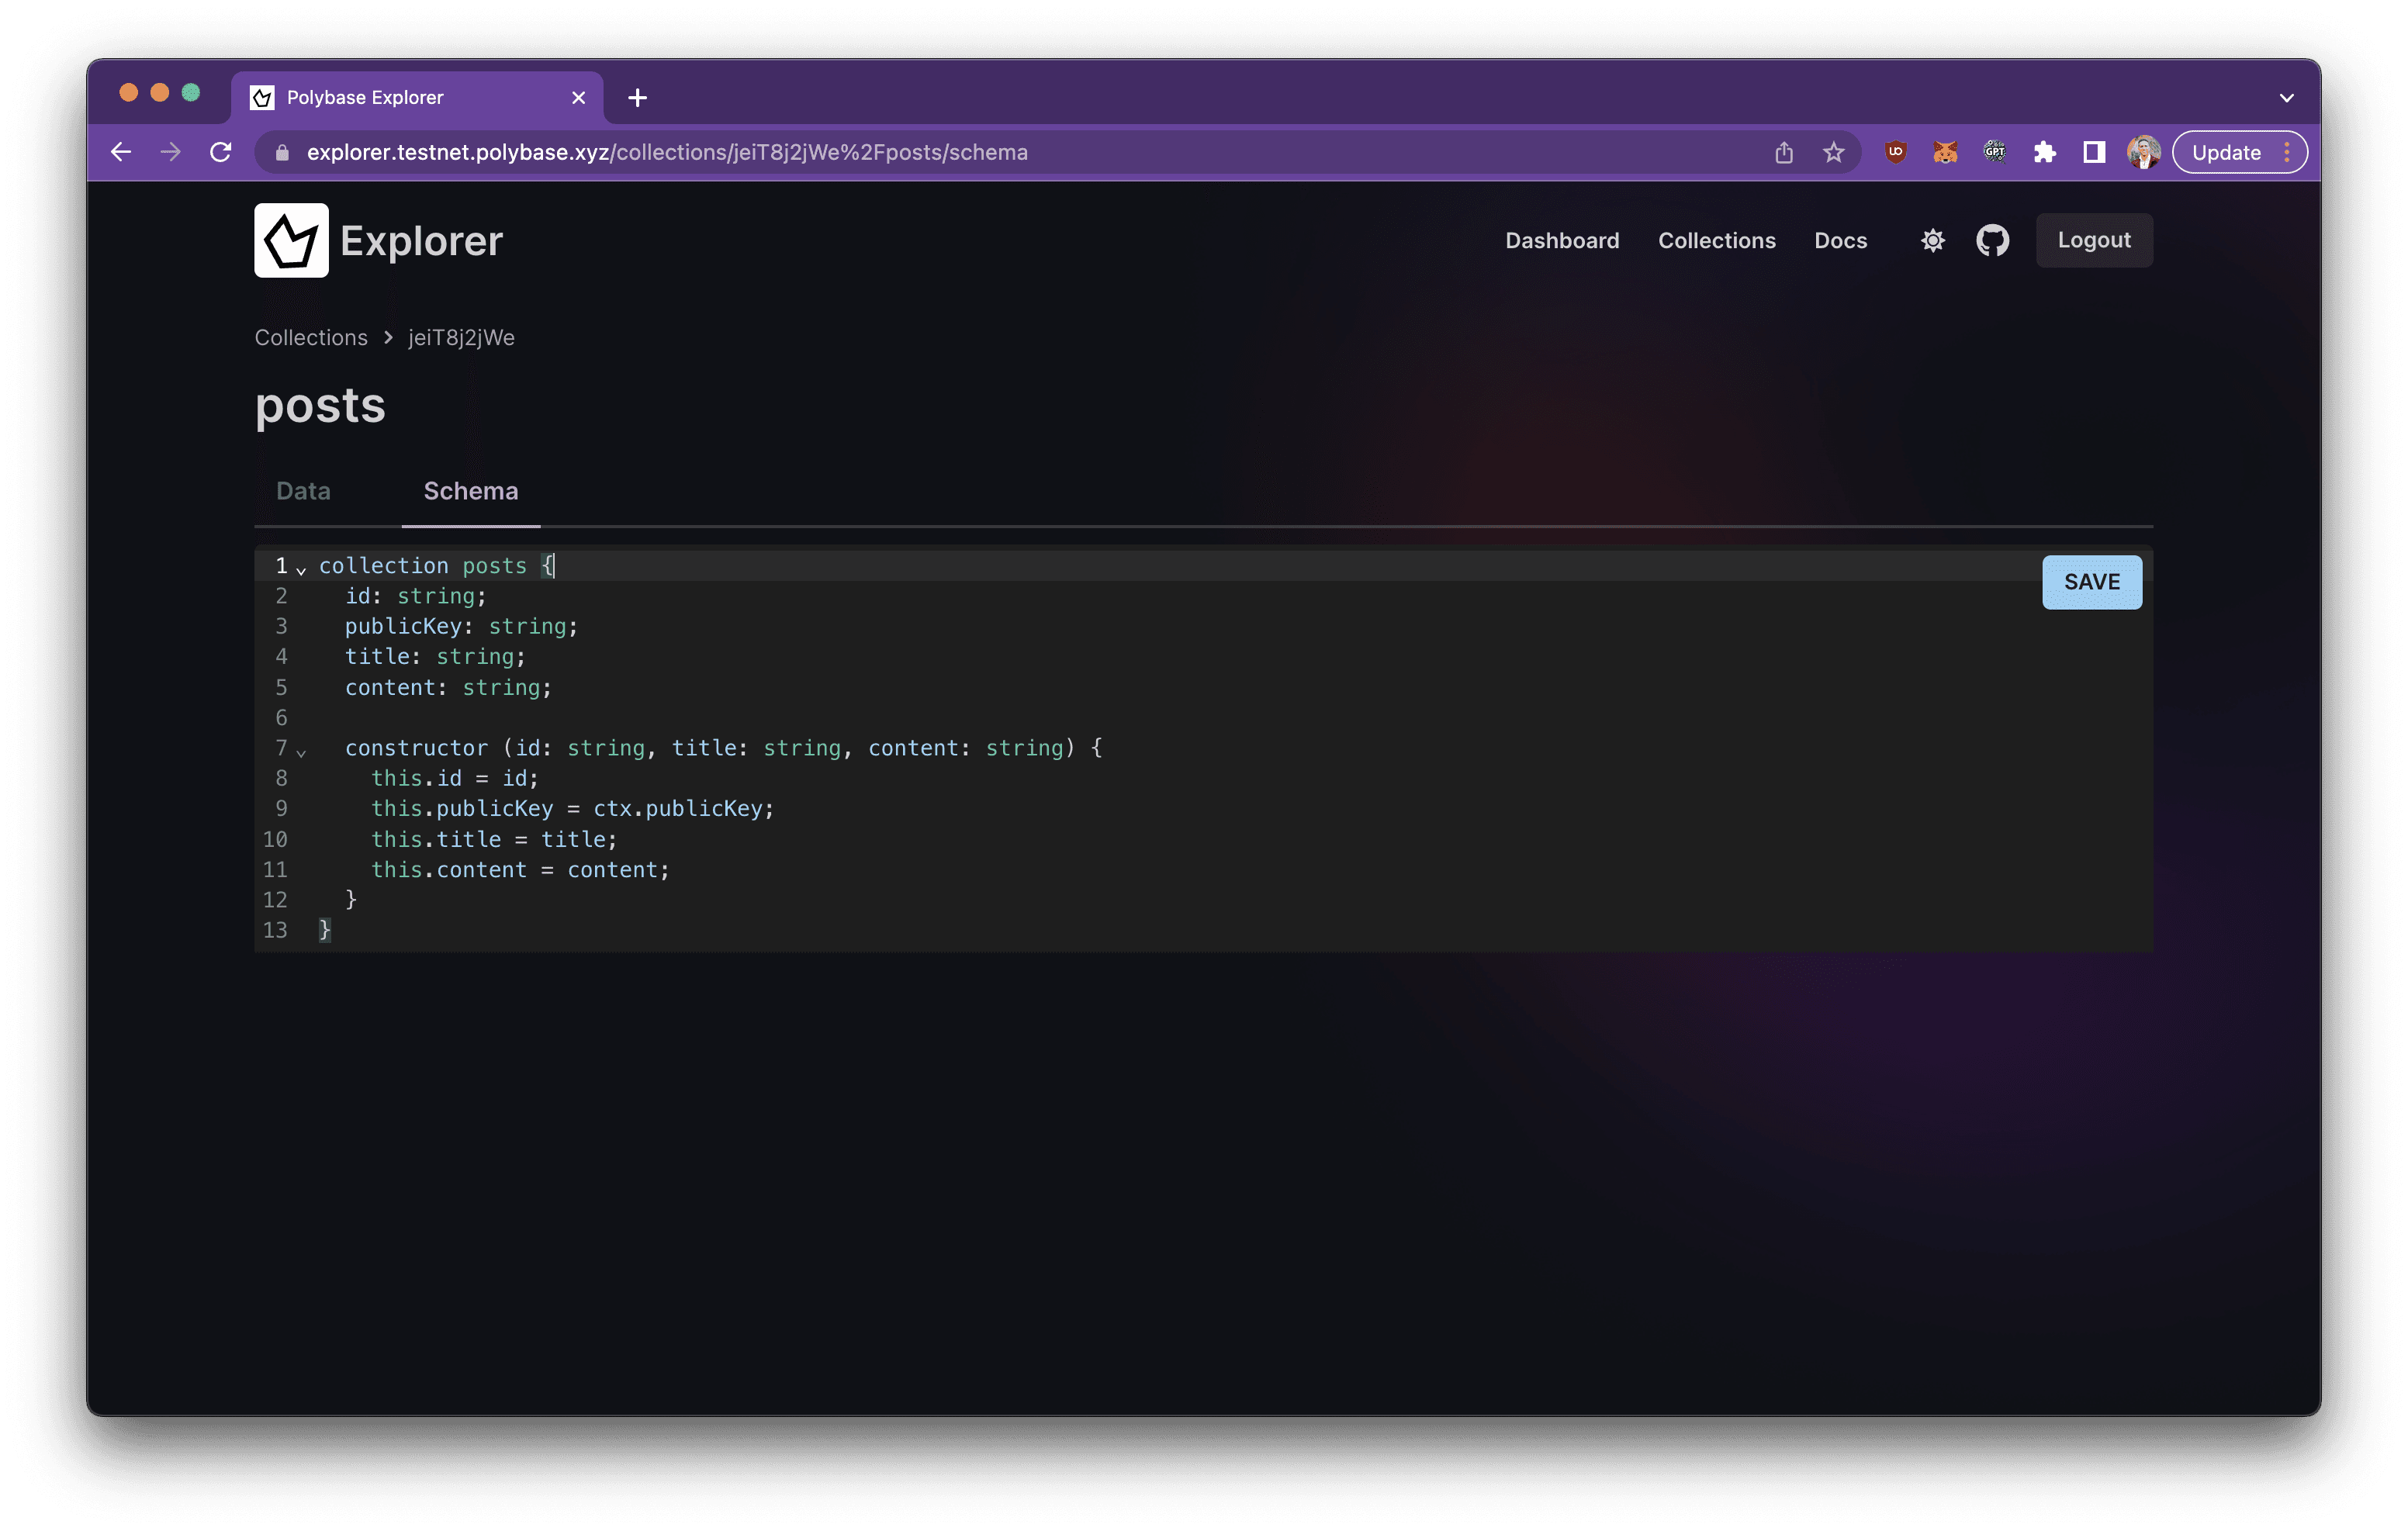
Writing the post collection’s schema.
Notice here that we didn’t have to link posts to users with a userId. The publicKey itself is a unique identifier for the user. Any post created by that user can be retrieved just by filtering on the publicKey.
💡 The magic here is that now anyone can build a UI for this application without me having to give them permission. As soon as a user logs in with their wallet, they have the permissions they need.
To build the UI for this app, fork the example app: Polybase Social or use the Polybase Typescript SDK.
Obviously, there’s lots more to implement here including:
Post media in IPFS with links in the posts collection
Better permissions
Friend/follower relationships
Upvotes/tipping for posts
Deleting posts
🎉 We’re excited to see what you build!
P.S. If you ever want to chat, reach out in our Discord or book a call with the team.